
How to Install a Ceiling Fan
Replacing a light with a ceiling fan? The key is a fan-rated box that can hold the weight and motion.
Turn off power at the breaker, confirm (or install) a fan-rated electrical box, mount the bracket, connect the wiring, attach the blades, and test for balance. New circuits require a licensed electrician.
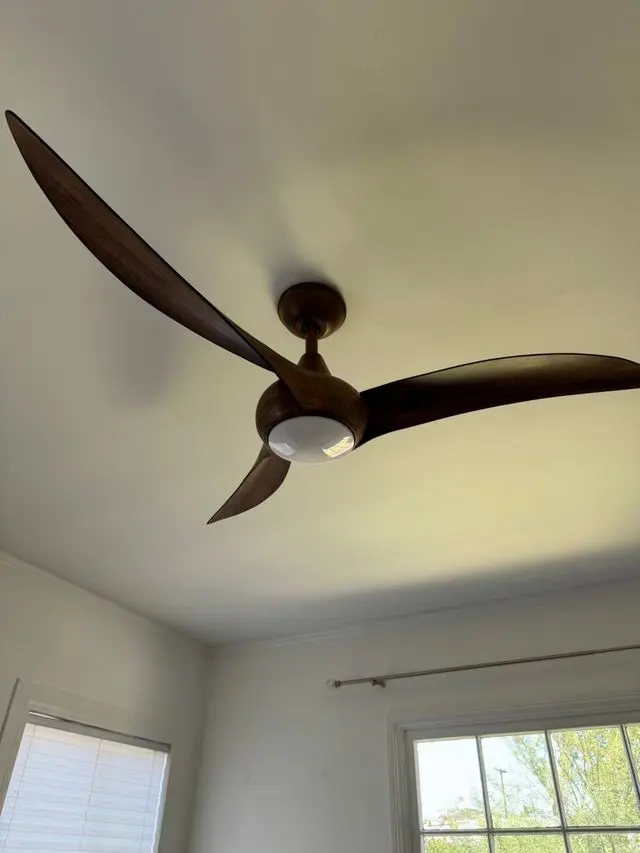
Our own work in Los Angeles. Not a photograph of the steps below.
Step by step
- 1Turn off the power
Kill the circuit at the breaker panel, not only the wall switch, which can leave a hot wire in the box. Then verify at the fixture with a non-contact voltage tester touched to every wire, including the ones you think are neutral; mislabeled panels are common, and this step is non-negotiable. If the tester still lights on any conductor after flipping the breaker you expected, stop and shut off the main or call a licensed electrician.
- 2Confirm a fan-rated box
Take down the old fixture and read the box: a fan-rated box is stamped 'Acceptable for Fan Support' (usually up to 70 pounds) and is metal, anchored to a joist or a rated brace bar. A standard plastic light box will work loose under a spinning fan's vibration and can drop the whole assembly. If the box isn't rated, install an expanding fan brace through the existing hole; it wedges between joists and takes about 20 minutes.
- 3Mount the bracket
Bolt the fan's mounting bracket to the box using the machine screws supplied with the box or brace, never drywall screws, which aren't rated for the load. Feed the house wires through the bracket opening first, then tighten both bolts firmly and tug the bracket to confirm zero movement. On sloped ceilings, check the bracket's maximum angle and use a longer downrod so the blades clear the slope.
- 4Wire the connections
With the fan motor supported on the bracket hook, connect black to black (fan), blue to black or to a separate switched wire if you have one (light), white to white, and bare/green ground to ground, twisting each pair under a wire connector and tugging each wire to confirm it's captive. No loose strands should show below the connector skirt. If the box wiring doesn't match the manual (extra hots, no ground, aluminum wire, or cloth-insulated conductors common in older homes), stop there and have a licensed electrician sort it out.
- 5Attach blades & test
Screw each blade or blade arm on with all supplied screws snugged evenly; a single loose screw is the most common wobble source. Restore power and run the fan on high: a slight shimmer is normal, but visible wobble means it needs balancing. Use the clip-and-weight balancing kit that ships in the box, moving the clip blade to blade until the wobble dies, then sticking the weight where the clip helped most.
What can go wrong (and how to fix it)
The ways this job usually goes sideways, and what each one is telling you.
First check that the pull chains aren't set to 'off' and the reverse switch isn't stuck mid-position. Both are common causes. If the light works but the motor doesn't, the motor wire (usually black) may be capped or connected to the wrong conductor in the box; kill the breaker, verify dead, and recheck the connections against the manual.
If the balancing kit doesn't cure it, measure blade-tip-to-ceiling for each blade; a bent blade arm shows up as one blade riding higher, and you can re-bend it or swap it. Persistent wobble after that points at the mounting: a loose bracket bolt or a box that isn't actually fan-rated.
Common in older LA homes with early wiring. Don't cap the fan's ground and move on. An ungrounded fan is a shock risk. A metal box on grounded armored cable can serve as the grounding point with a ground screw, but confirming that is meter work; if in doubt, this is a licensed-electrician call.
If your tester shows voltage after flipping the labeled breaker, another circuit feeds the box; ceiling boxes sometimes carry two circuits. Flip breakers until every conductor tests dead, or shut off the main. Never work on a wire you haven't personally verified dead at the fixture.
In LA it's worth treating a 20-pound spinning fixture seriously: use a rated metal box or brace, thread the downrod's safety pin and set screw, and tighten the canopy screws fully. Skip flush-mount adapters that rely on partial engagement. Each fastener the manual specifies helps keep the fan up during a shake.
Short on time, or want it guaranteed?
Our insured pros handle ceiling fan installation from $150, same-week, with an upfront flat price and a satisfaction guarantee.
Read next
What ceiling fan installation costs in Los Angeles, and the guide that picks up where this one stops.
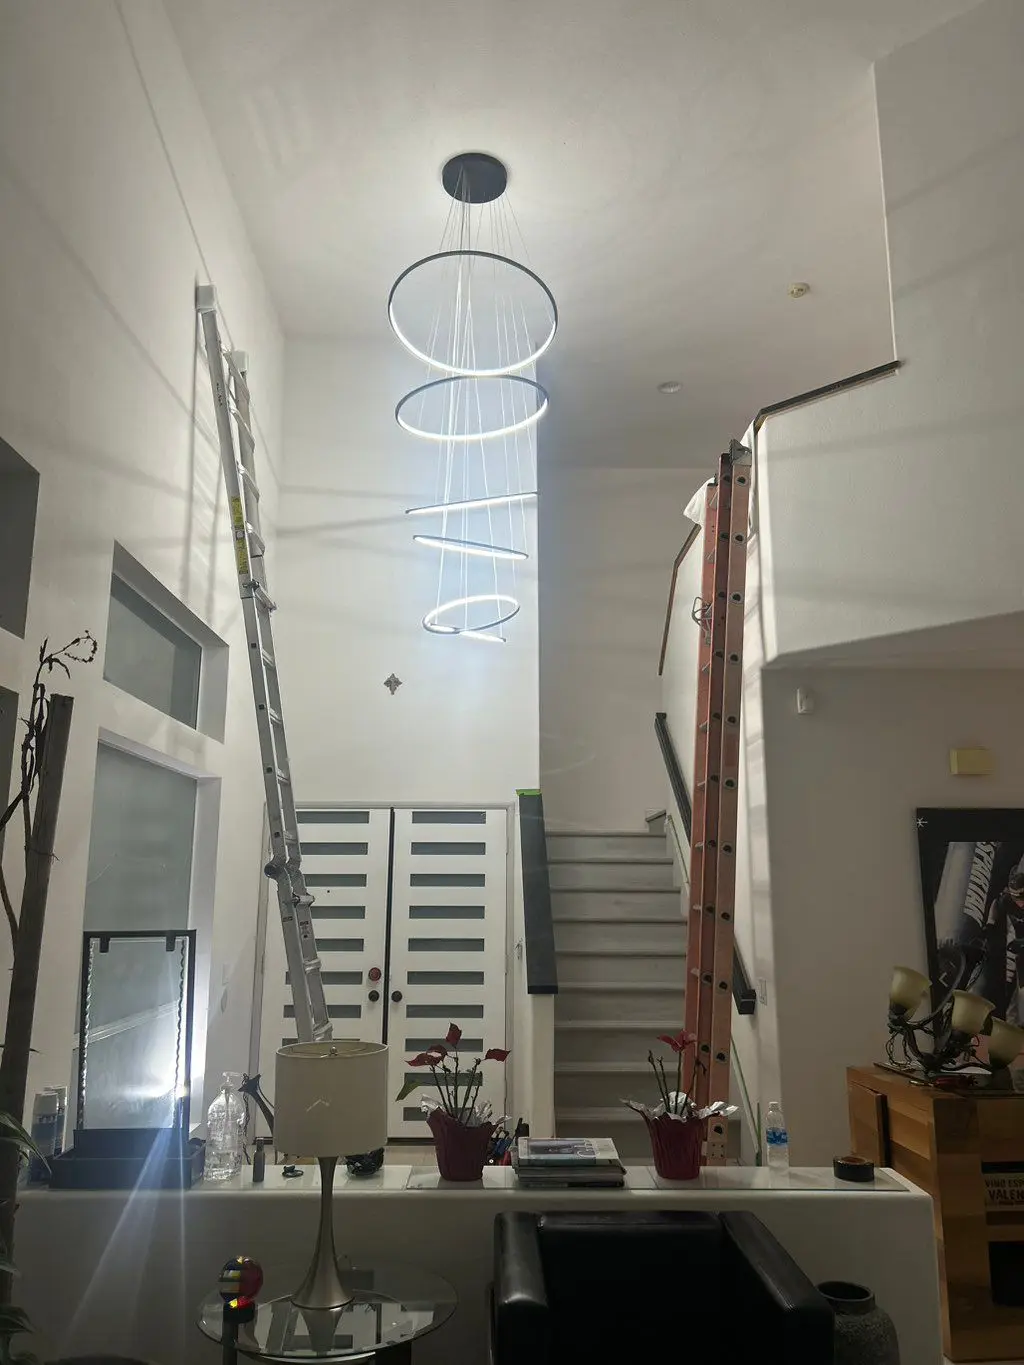
What ceiling fan installation costs in Los Angeles
Most jobs land between $150 and $350. The ceiling box decides most of this.
See the price breakdown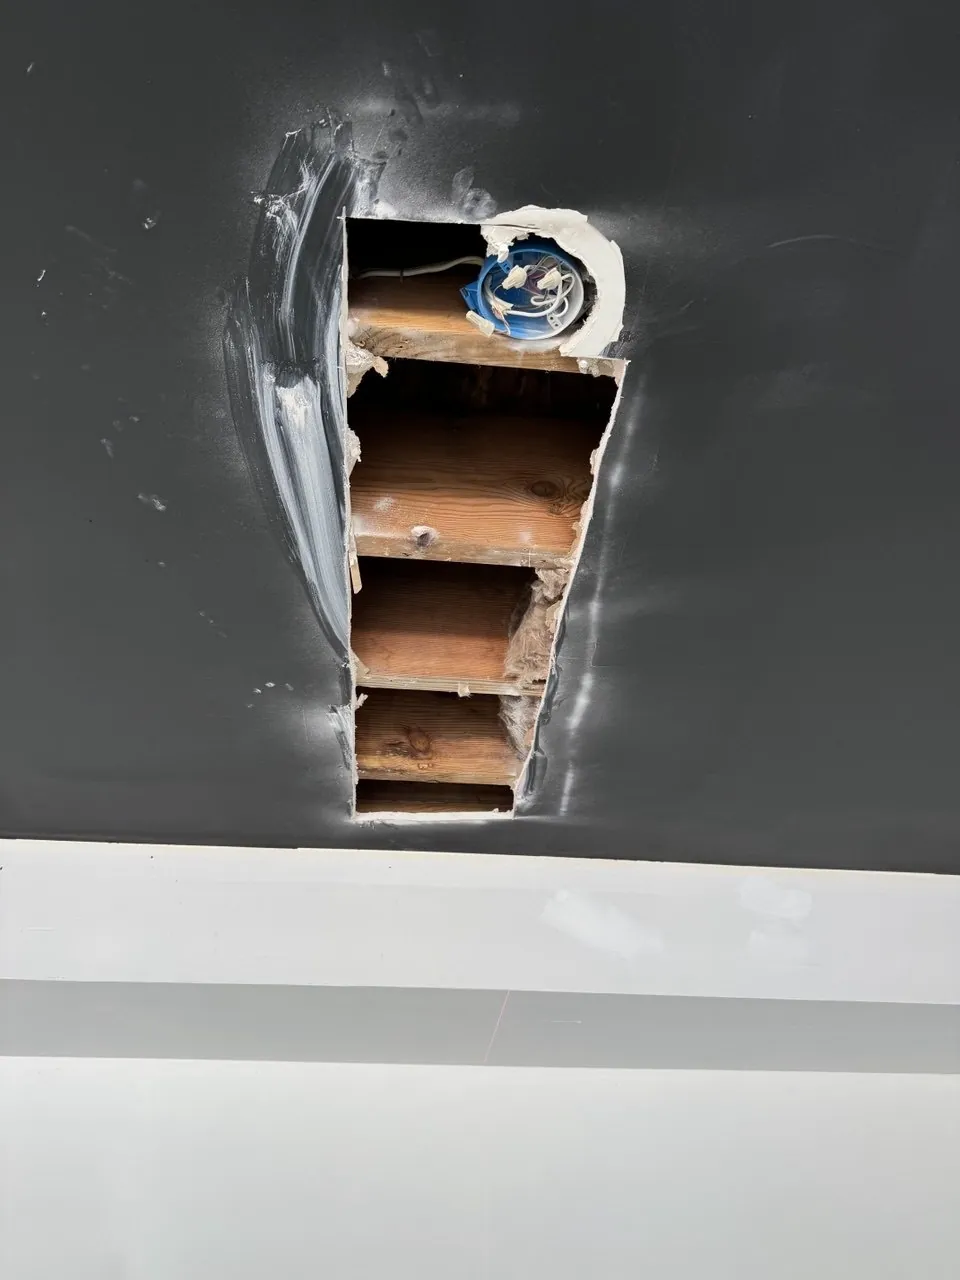
How to Fix a Drywall Hole
Swapping a light for a fan often means cutting the ceiling open to reach the joist. Closing it back up is the part nobody plans for.
Read the guideMore DIY guides
Same question in a different room: what is behind the surface, and will the fixing carry the weight.
You can diagnose a blocked gutter from the ground in about ten minutes.
Every guide we have written, and the point in each job where it is worth handing over.
How to Install a Ceiling Fan: FAQ
Can I put a ceiling fan where a light was?
Yes, but you must replace the light box with a fan-rated box to support the fan's weight and movement.
Why does my new fan wobble?
Usually blade balance or mounting: a balancing kit and checking the bracket fixes most wobble.
Do I need an electrician to install a ceiling fan?
A like-for-like swap on an existing switched circuit is standard handyman scope. You do need a licensed electrician for new circuits, new switch legs, aluminum or ungrounded wiring, or anything that fails a voltage test you can't explain.
What downrod length do I need?
Blades must sit at least 7 feet above the floor and about 8–10 inches below the ceiling for airflow. On 8-foot ceilings that means a flush or 3–6 inch rod; add roughly 6 inches of downrod for each foot of ceiling height above 9 feet, and use an angled-ceiling kit past about 15 degrees of slope.
Get the next guide by email
New how-to guides and the seasonal checklist for LA houses. No sales emails.
We'll only use your email for the guides.