
Why Your Gate Sags, and What to Check Before the Wind
A gate doesn't fail in one day. First it needs a little lift on the handle before the latch will catch. Then it leaves a gray arc on the walk where the bottom corner scrapes, and one morning it won't close at all.
October is when to look at it. The Santa Anas start blowing in fall and keep coming through winter. A gate that only latches with a lift gets left unlatched, and an unlatched gate in a Santa Ana bangs against its post all night, working every hinge screw a little looser. Then the rain soaks the ground around the posts. Ten minutes with a level and a screwdriver tells you which part moved.
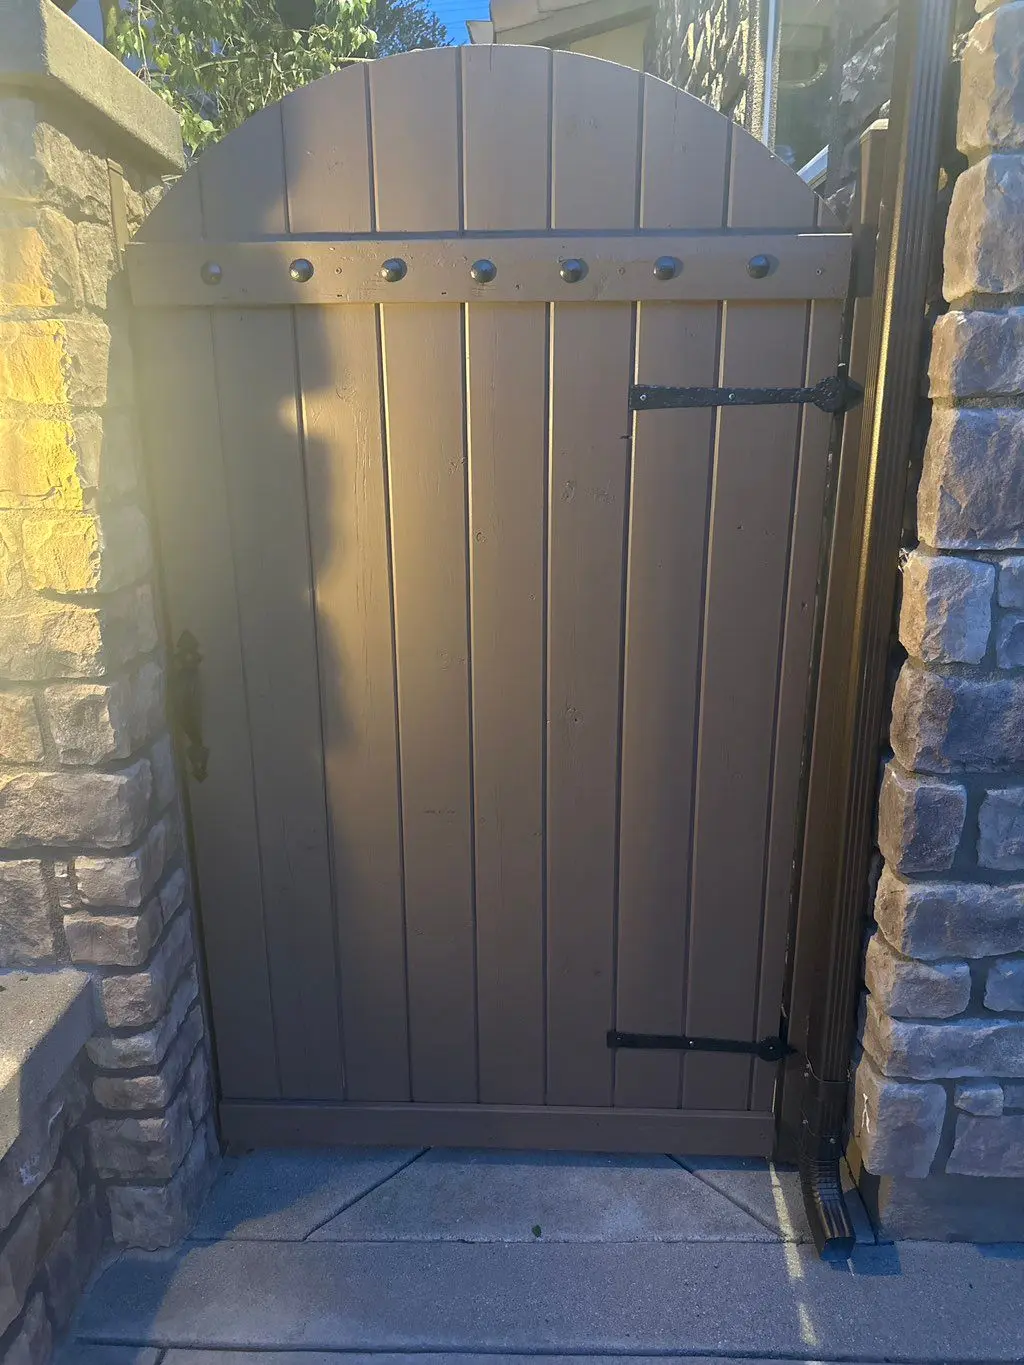
A gate between stone pillars, painted deep brown, with black strap hinges.
Find out which part moved
A sagging gate has three suspects. The post it hangs on, the hinges, or the gate itself.
Close the gate. A latch-side gap that's wide at the top and tight at the bottom means the latch corner has dropped. Now put a level against the hinge post. A post leaning toward the latch is the problem, and no amount of hardware will hold the gate up on it.
If the post is plumb, open the gate partway and lift the latch end. Watch the hinges. A screw head that rises out of the wood or a hinge leaf that shifts tells you the screws have let go. If everything is tight, measure the gate's two diagonals, corner to corner. Equal means the frame is square. If one runs longer, the frame has racked, gone out of square like a pushed box.
The post
Push hard on the top of the hinge post. If it moves at the ground line, dig the dirt back a few inches and push a screwdriver into the wood there. Wood that's sound resists. Rotted wood lets the tip sink in.
That band at the soil line is where posts go, and the reason is water. Wood only rots while it stays wet, from rain, condensation or wet ground against it. Even what people call dry rot started wet and dried out later. In an LA yard that's usually a sprinkler hitting the post all summer, or soil piled against it.
Those two you can fix today. Turn the head away from the post and pull the soil back so the wood isn't buried any deeper than it was set.
A post that's soft at the base has to come out with its old footing. The new one goes in plumb, braced, and in concrete that's left alone for a day before the gate goes back on. Lumber for that has to be rated for ground contact, and every cut end gets brushed with preservative. Treatment only goes so deep, and a cut or a drilled hole opens up wood it never reached.
Gates on stone or stucco pillars
Plenty of gates here hang between stone or stucco pillars. The pillar doesn't rot, but hinge anchors can work loose in the mortar under a heavy gate. Check for a hairline crack running from a hinge bolt, or a bolt that turns when you put a wrench on it. A loose anchor can be reset. A pillar that's cracked through or leaning is a mason's job.
Hinges and screws
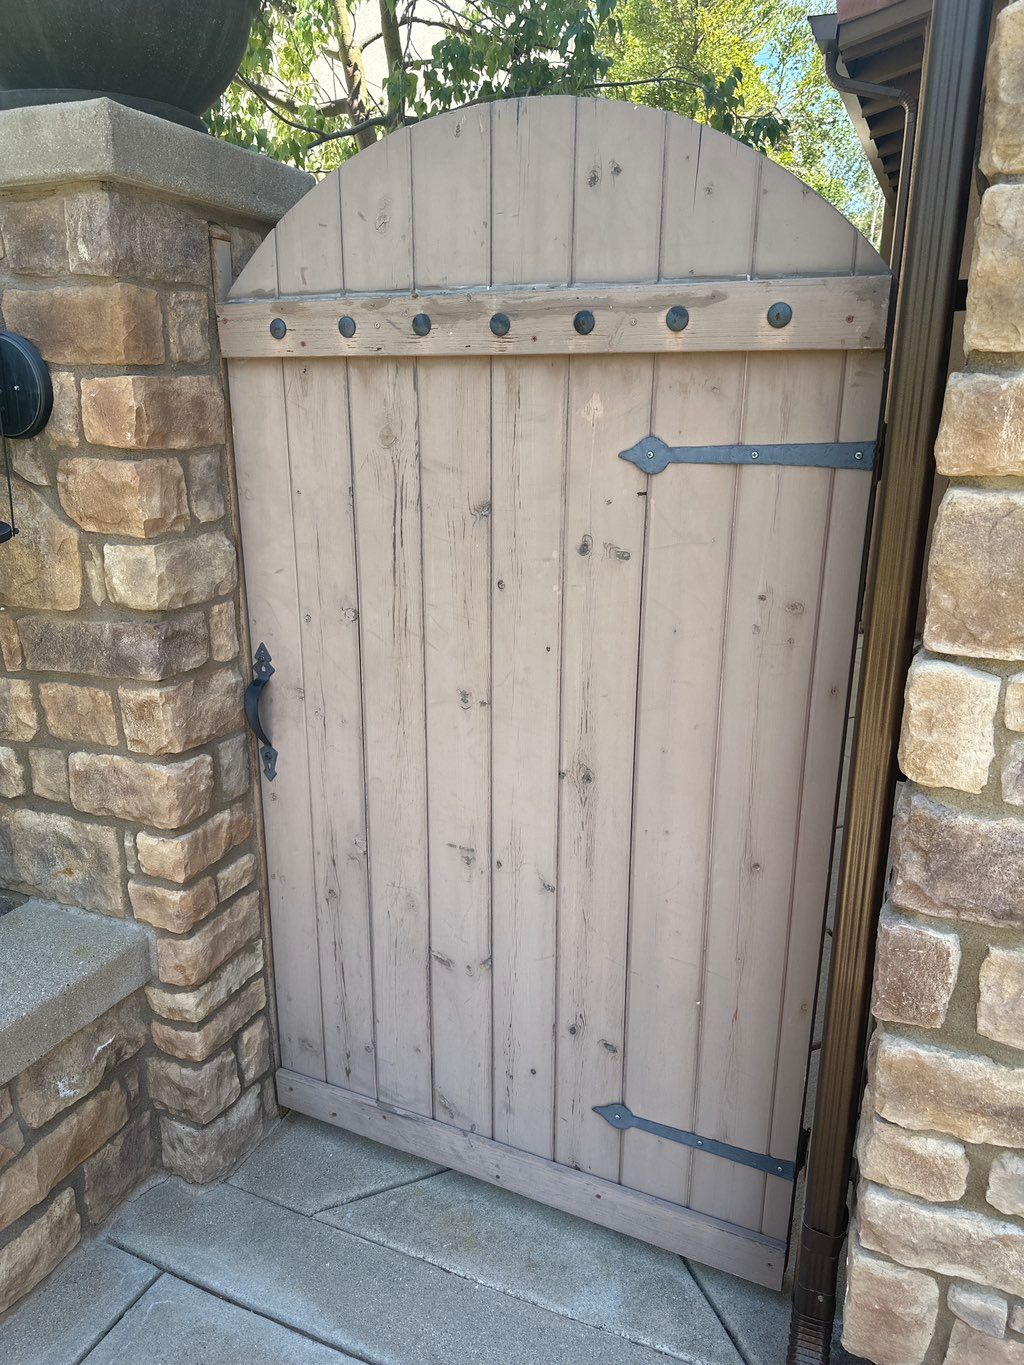
The top hinge does most of the work. It's pulled outward by the weight of the gate while the bottom one is pushed in, so the top screws strip first.
If they've only backed out, drive in longer exterior screws that reach solid wood. A stripped hole can be filled with a glued wooden dowel, trimmed flush and drilled again. Near the beach, check the screws themselves. Salt air eats galvanized hardware, and a hinge can fail while the post behind it is still fine.
The gate itself and an anti-sag kit
A gate that has racked can usually be pulled back square with an anti-sag kit, a steel cable with a turnbuckle that runs corner to corner. The cable goes from the top corner on the hinge side down to the bottom corner on the latch side. That's the opposite way from a wooden brace, which runs up from the bottom hinge corner and pushes rather than pulls.
Before you start, prop the latch side up to level with a block of wood. Run the turnbuckle out to its full length, pull the cable tight by hand and clamp it. Then twist the turnbuckle to take up the rest of the slack. The package says how long a diagonal the kit is rated for, so measure yours before you buy.
The latch, last
Move the latch or strike only after the gate hangs right, or you'll be moving it again. A gate that shuts easily in a dry Santa Ana week can bind after the rain, when the wood takes up water, and the marine layer keeps it damp for days. Leave it some room. If you paint, do the bottom edge too. That's end grain, and it drinks water from the paving.
When it needs more than a screwdriver
Everything above the ground line is an afternoon with a drill. A post that's soft at the ground line, a gate frame rotted at the joints or a run of fence leaning one way is a bigger day, with digging and concrete that has to cure. That's when a sagging gate becomes a repair visit.
Before the first Santa Ana, lift the latch end of your gate an inch and watch what moves. Whatever moves first is the part to fix.
Rather hand it over?
Tell us the job and your ZIP. You get one flat price to approve before anything starts.
Get an estimateRead next
What fence & gate repair costs in Los Angeles, and the guide that picks up where this one stops.
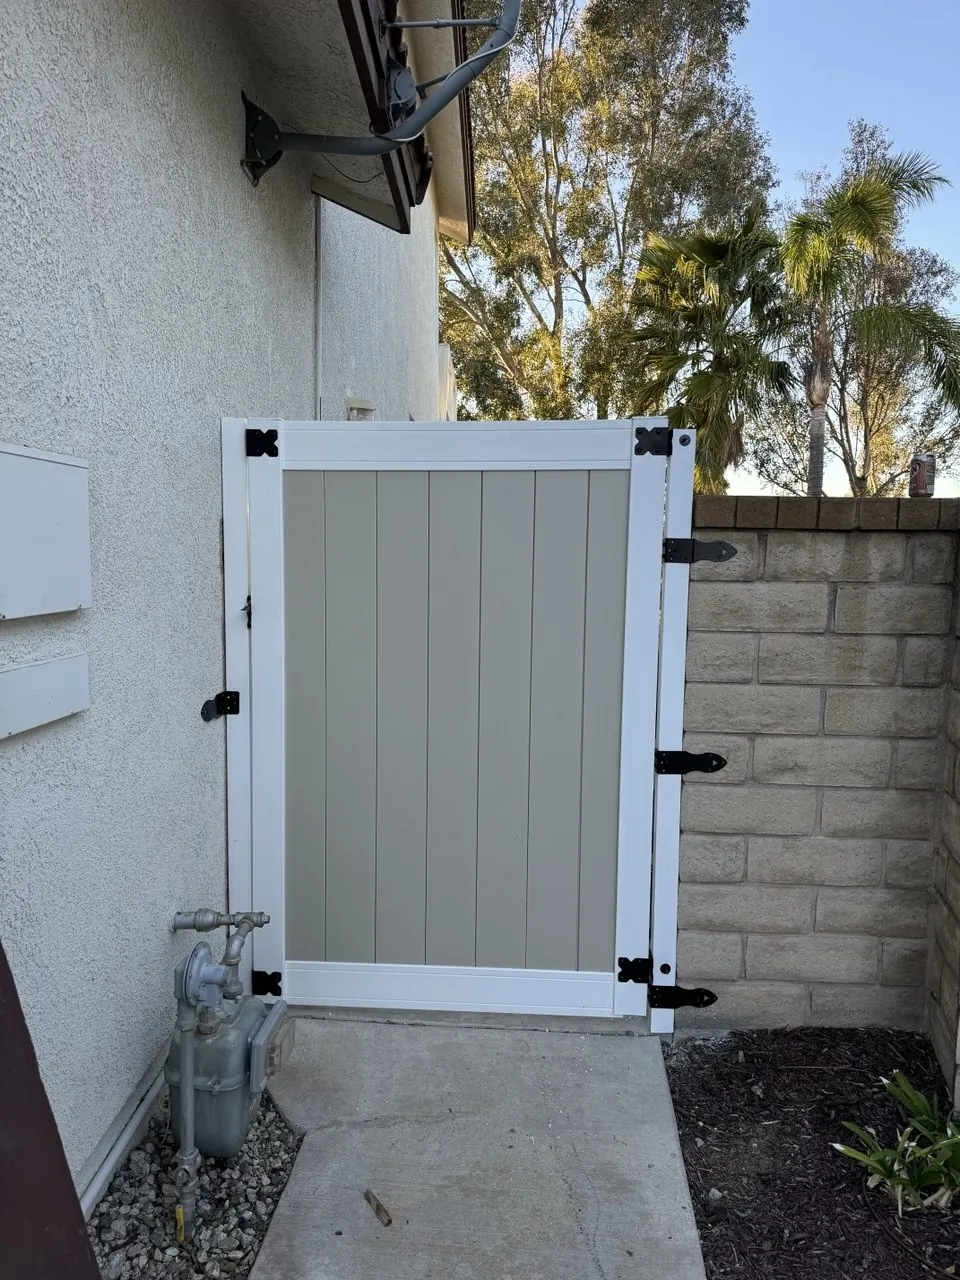
What fence & gate repair costs in Los Angeles
Most jobs land between $150 and $700. Post condition drives the number.
See the price breakdown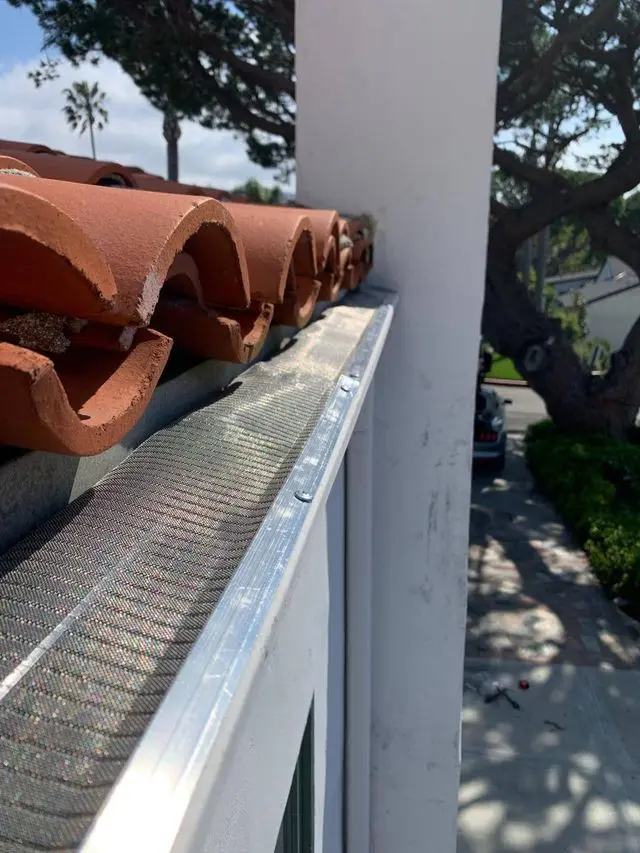
Five Things to Check on Your House Before the First Rain
The rest of the October walk around the house, with gutters, roof joints and the fence posts pushed one at a time.
Read the guideMore DIY guides
A door that binds in winter is the same story as a gate that drags. The wood moves, and the fix starts at the hinges.
You can diagnose a blocked gutter from the ground in about ten minutes.
Every guide we have written, and the point in each job where it is worth handing over.
Get the next guide by email
New how-to guides and the seasonal checklist for LA houses. No sales emails.
We'll only use your email for the guides.