
How to Replace a Faucet
Swapping a kitchen or bath faucet is a manageable job if the shutoff valves work. Test those before anything else.
Shut off the water, disconnect the supply lines, remove the old faucet, set the new one with its gasket, reconnect the supply lines with plumber's tape, then turn the water on and check for leaks.
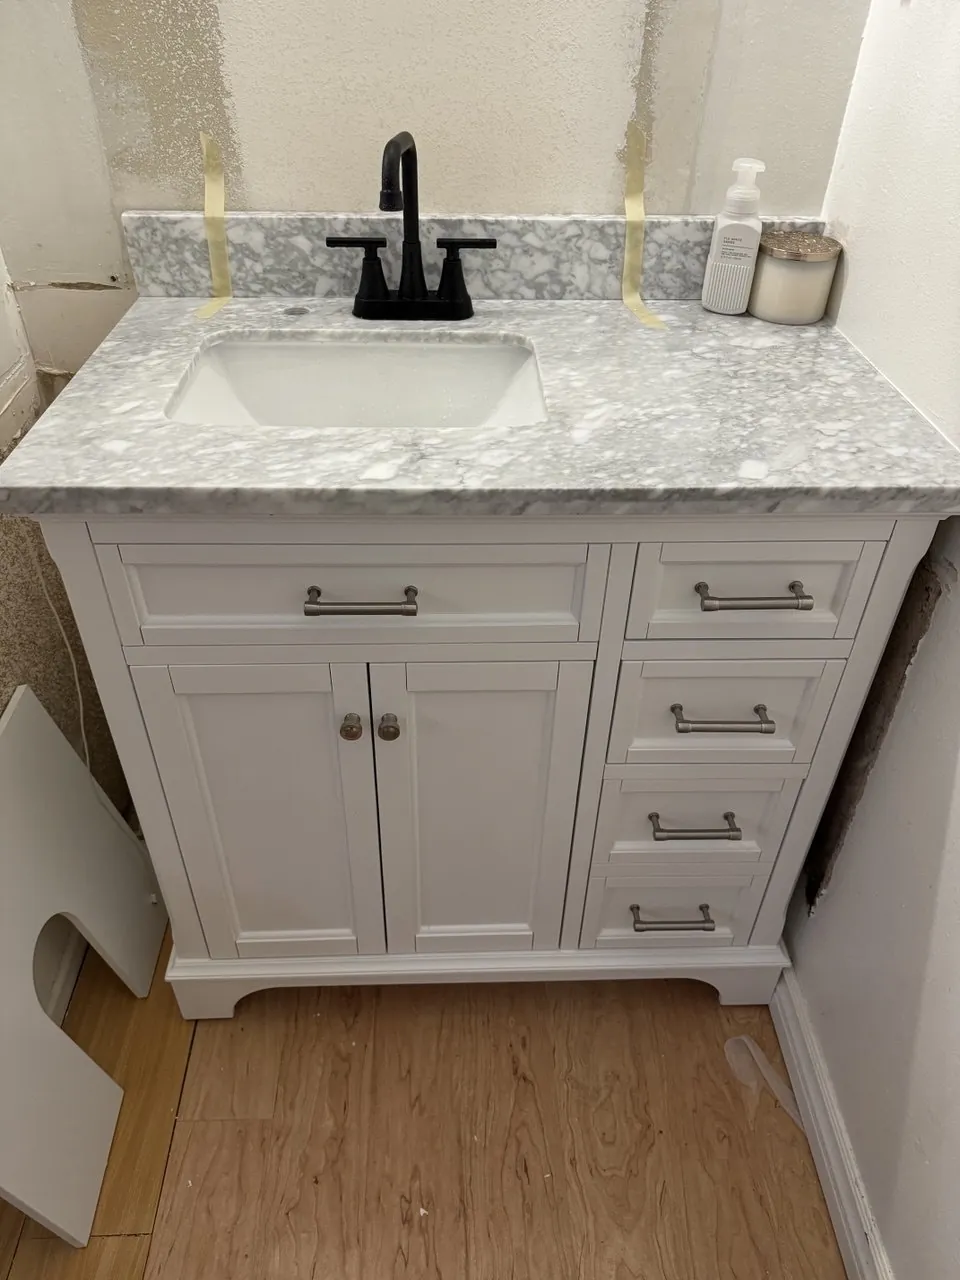
Our own work in Los Angeles. Not a photograph of the steps below.
Step by step
- 1Shut off the water
Turn both shutoff valves under the sink clockwise until they stop, then open the faucet to bleed the pressure and confirm the water actually stops. If a valve keeps seeping or won't turn (common on valves that haven't moved in a decade), don't force it hard enough to snap the stem; that's the point to shut off at the house main and consider having the valves replaced. Test the shutoffs before you buy the faucet, not after the old one is in pieces.
- 2Disconnect supply lines
Set a bucket and towel under the connections, then loosen the supply line nuts at the faucet tailpieces with an adjustable wrench. Hold the valve body steady with a second wrench so you don't twist the pipe behind it. Expect a cup or two of trapped water. Check the lines themselves while they're off: braided stainless lines older than about 10 years, or any with rust or kinks, should be replaced on principle.
- 3Remove the old faucet
Reach up behind the basin and back off the mounting nuts. A basin wrench exists for this cramped, low-leverage spot. Corroded nuts respond to penetrating oil and 15 minutes of patience; plastic wing nuts can be carefully split with pliers if they're seized. Lift the old faucet out and scrape the deck clean of old putty and mineral crust so the new gasket can seal flat.
- 4Set the new faucet
Drop the new faucet through the holes with its rubber gasket or a bead of plumber's putty under the base plate, center it, and have someone hold it square while you tighten the mounting nuts from below. Tighten evenly hand-tight plus a snug quarter turn. Cranking on one side first walks the faucet off center. Wipe away any putty squeeze-out before it sets.
- 5Connect & leak-test
Wrap male threads with 2–3 clockwise turns of plumber's tape (skip the tape on supply lines that seal with a built-in rubber cone washer: tape can make those leak), then connect hot to hot, cold to cold, snug plus a quarter turn. Open the shutoffs slowly, then run both temperatures for a minute while you touch every joint with a dry paper towel. The towel shows a weep your eyes will miss. Re-check the connections for drips again after 24 hours.
What can go wrong (and how to fix it)
The ways this job usually goes sideways, and what each one is telling you.
Work a seized valve gently back and forth with light penetrating oil. Never lean on it, because a snapped stem means water everywhere and an emergency main shutoff. A valve that won't fully stop the flow needs replacing, which is done with the house main off; if you're not comfortable there, that's the right moment to hand it to a pro.
Decades of hard water can weld the nuts to the tailpieces. Penetrating oil, a basin wrench for leverage, and patience solve most of them; the nuclear option is cutting the old tailpieces with a mini hacksaw or oscillating tool since the faucet is trash anyway. Protect the sink from tools with a towel while you fight it.
Find where first: a drip at the supply nut means re-seating: undo it, check the cone washer isn't cocked, and re-tighten a quarter turn past snug. Water pooling at the base plate means the gasket isn't sealing (uneven tightening or leftover crud on the deck). Water under the sink only when the sprayer runs points at the pull-down hose connection, not the supplies.
Almost always debris from the lines lodged in the aerator during first startup. Unscrew the aerator at the spout tip, rinse the screen, and flush the faucet with the aerator off for 30 seconds. On pull-down kitchen faucets, also check the little inlet screens where the supply lines meet the valve body.
Sinks come in 1-, 3- and 4-hole layouts. A single-handle faucet on a 3-hole sink needs its deck plate (escutcheon) to cover the extras; a wide-spread faucet won't fit a 1-hole sink at all. In older LA homes with original tile-in sinks and galvanized supply stubs, adapting hole layouts and corroded stubs is where a quick swap turns into real plumbing, worth a pro's hour.
Short on time, or want it guaranteed?
Our insured pros handle faucet replacement from $119, same-week, with an upfront flat price and a satisfaction guarantee.
Faucet Replacement we have done in Los Angeles
Real Faucet Replacement jobs by Construction Hub. Our own photos, not stock, and not staged for this guide.
Read next
What faucet replacement costs in Los Angeles, and the guide that picks up where this one stops.
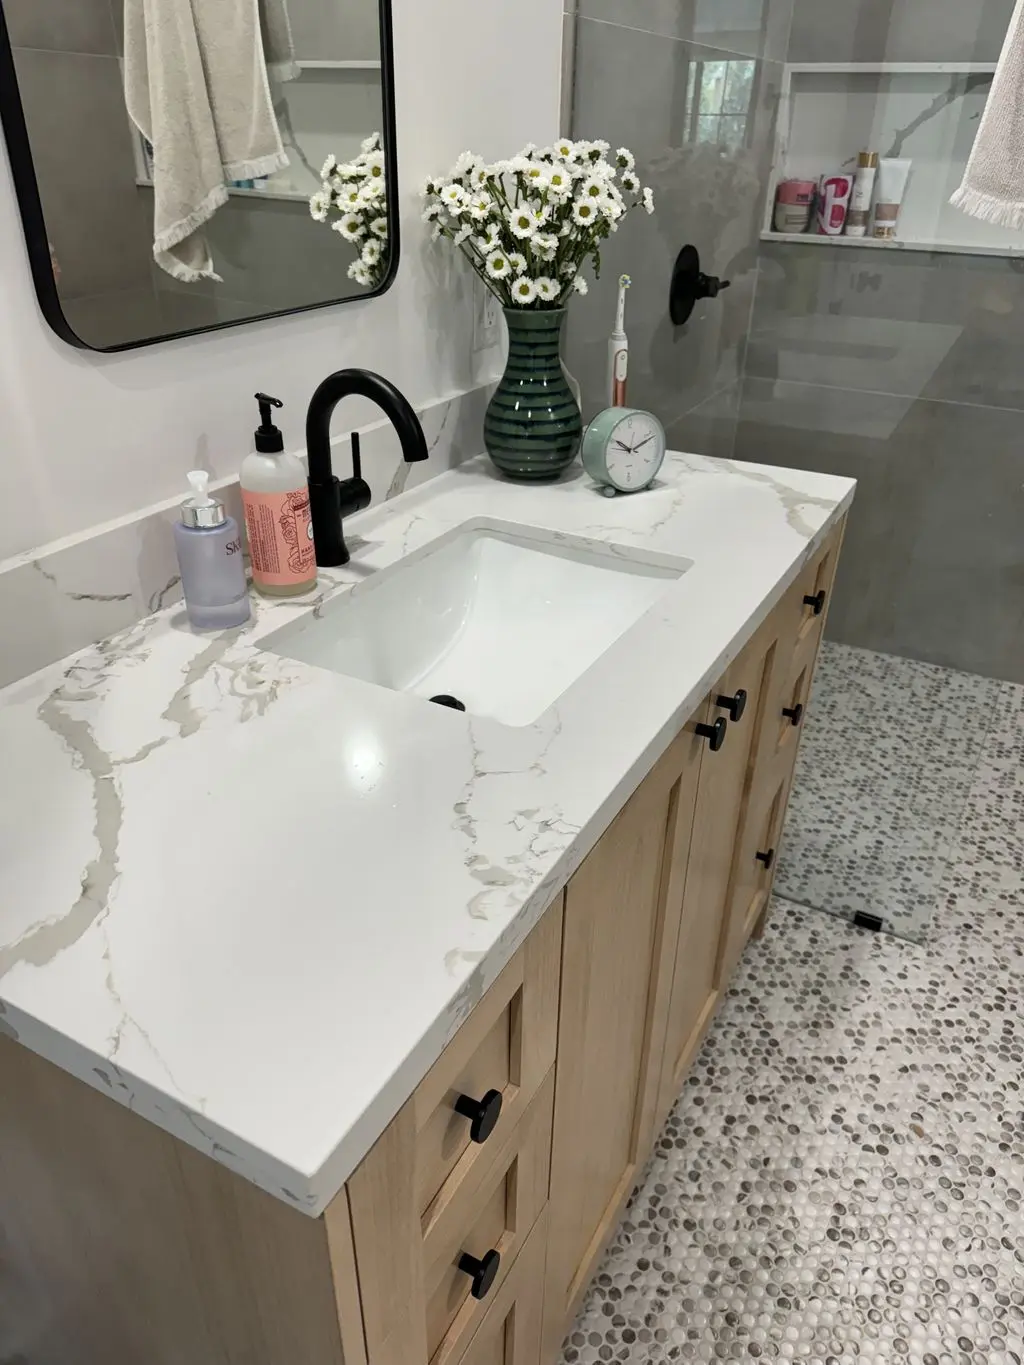
What faucet replacement costs in Los Angeles
Most jobs land between $119 and $250. Valve condition swings this further than the faucet you picked.
See the price breakdown
How to Install a Ceiling Fan
Different trade, same first move. Kill the supply at the source and prove it is off before you touch anything.
Read the guideMore DIY guides
You can diagnose a blocked gutter from the ground in about ten minutes.
A door that binds in January and swings fine in August has not warped.
Every guide we have written, and the point in each job where it is worth handing over.
How to Replace a Faucet: FAQ
Do I need to replace the supply lines too?
If they're old, corroded or kinked, replace them while you're in there; they're inexpensive and prevent leaks.
What if the shutoff valves are stuck?
Seized shutoffs may need replacing, which usually means turning off the main, a good point to call a pro.
How long does replacing a faucet take?
With working shutoffs and clean hardware, about an hour. Budget two to three if the old mounting nuts are corroded or you're also swapping supply lines. Seized shutoff valves are the wildcard that can turn it into a plumbing visit.
Should I use plumber's putty or the rubber gasket?
Use the gasket if the faucet ships with one; it's the intended seal. Plumber's putty is the fallback for metal base plates without a gasket. Avoid regular putty on granite or composite sinks, where it can stain, and use silicone or a stain-free putty there instead.
Get the next guide by email
New how-to guides and the seasonal checklist for LA houses. No sales emails.
We'll only use your email for the guides.